Starting with DIY Keyboards & ZMK
2024-11-25
It's empowering to own your own means of production. When you have the tools and the resources, brilliant things happen! The world of software development is one of the few professions where you one can produce infinite value. As a programmer, our physical tools have not changed much since the mid 80s. Yes they are shinier and less beige now, but with every polish, came less ownership, and less control of the devices you rely on.

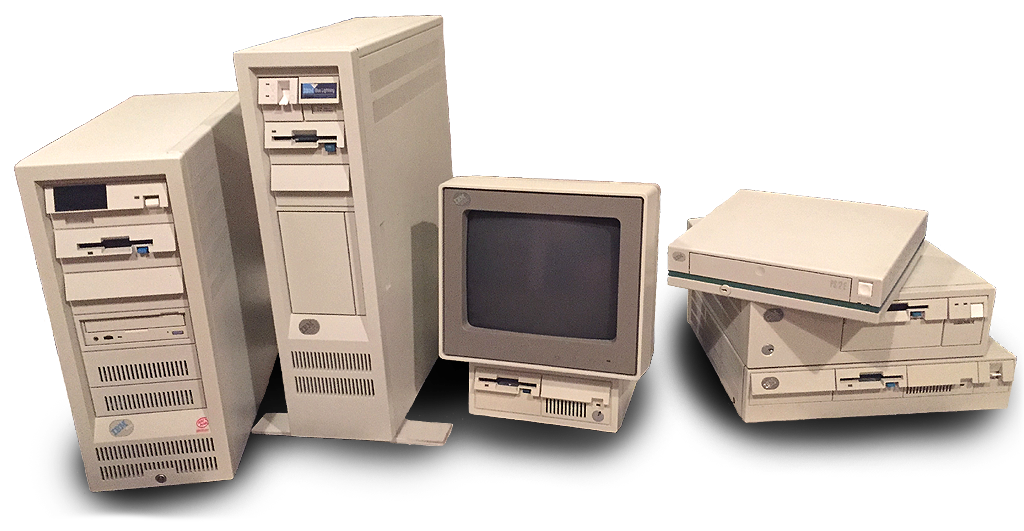
IBM PS/2 Computers, released in 1987, and showing off the lovely beige color scheme
With the death of my Mac keyboard that I have been using since 2014 I thought it was time to get serious and consciously choose ergonomic and productivity enhancing tools as I use them every day. The number of options available are nearly infinite, but the delightful part of having so much choice is you can get really niche.
I prioritize the following features:
- User repairable (The Apple keyboard died only because the enter key is malfunctioning!)
- Ergonomics (I'm still learning about this, but a split keyboard allows better hand positioning)
- Ability to customize the software (And it turns out, I can customize the hardware as well!)
This led me to the mindbogglingly complex world of DIY and open source mechanical keyboards. While I was not quite ready to test my soldering skills on a device that I need to rely upon every day for work, I love the fact that an open design allows me to see how the board works, and make upgrades, repairs and modifications if required in the future.
I settled on buying a prebuilt Sofle keyboard from MechBoards

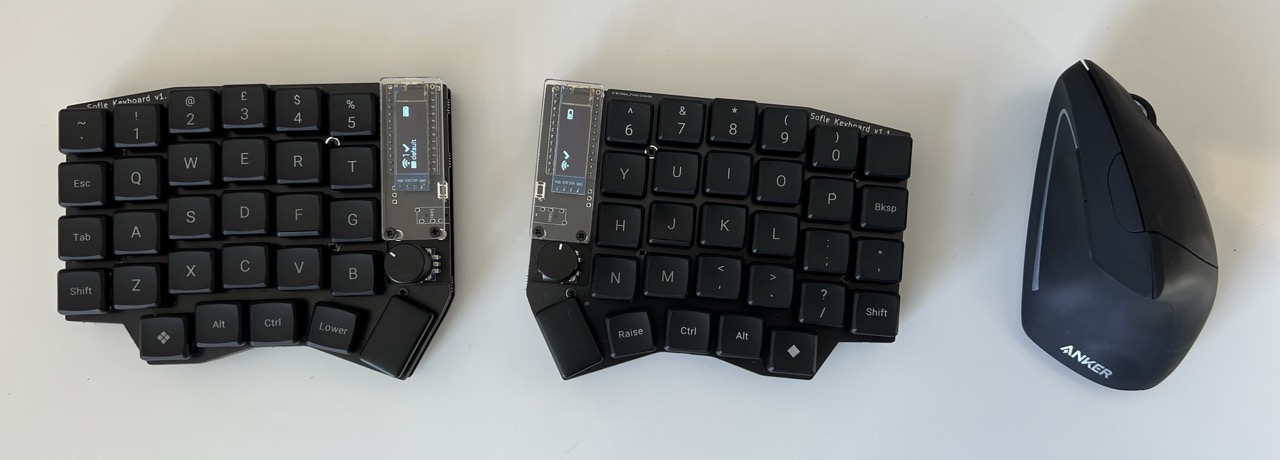
My new Sofle split mechanical wireless keyboard
Flashing the firmware
ZMK is an extremely lightweight firmware operating system based upon Zephyr. Zephyr is running on everything from smart devices to wind turbines, so it's extremely stable and low latency. It's incredible that we have access to such a feature complete system to run on a simple keyboard because of the power available on modern low power controllers.
I was nervous to start, because I feared losing the original firmware. It turns out that the controllers, depending on the original flashed bootloaders, just mount as a USB device on your computer, so you can easily copy off the old firmware to replace it. This is covered in the ZMK docs, but essentially you just need to find out how to put your controller in bootloader mode.
It's extremely simple to flash new firmware because the ZMK team have taken a surprisingly modern approach using GitHub actions, so everyone can have their own custom firmware build pipeline. This is the reason why I made the post because I think this is a fantastic way to think about building new projects, with end user installation front and center in the design and distribution
I copied off the old firmware to be sure I could roll back, set up the GitHub repo by following the instructions, and dragged the generated firmware straight onto the device's presented mass storage device.
Enable ZMK Studio
I was lucky that the Sofle has got native support for the newly released ZMK Studio, I had to enable it in my config by following the instructions.
Add the studio-rpc-usb-uart snippet to build.yaml - this ensures that all features are included in the firmware and available to add within Studio:
include:
  - board: nice_nano_v2
    shield: sofle_left
    snippet: studio-rpc-usb-uart
  - board: nice_nano_v2
    shield: sofle_right
Enable ZMK_STUDIO within keyboard.conf (sofle.conf for me):
CONFIG_ZMK_STUDIO=ySpecify a Studio Unlock key within your keymap file (sofle.keymap for me):
&studio_unlockIt was annoying that setting the unlock key was not this was not listed in the instructions as I had to flash the board three times in the end.

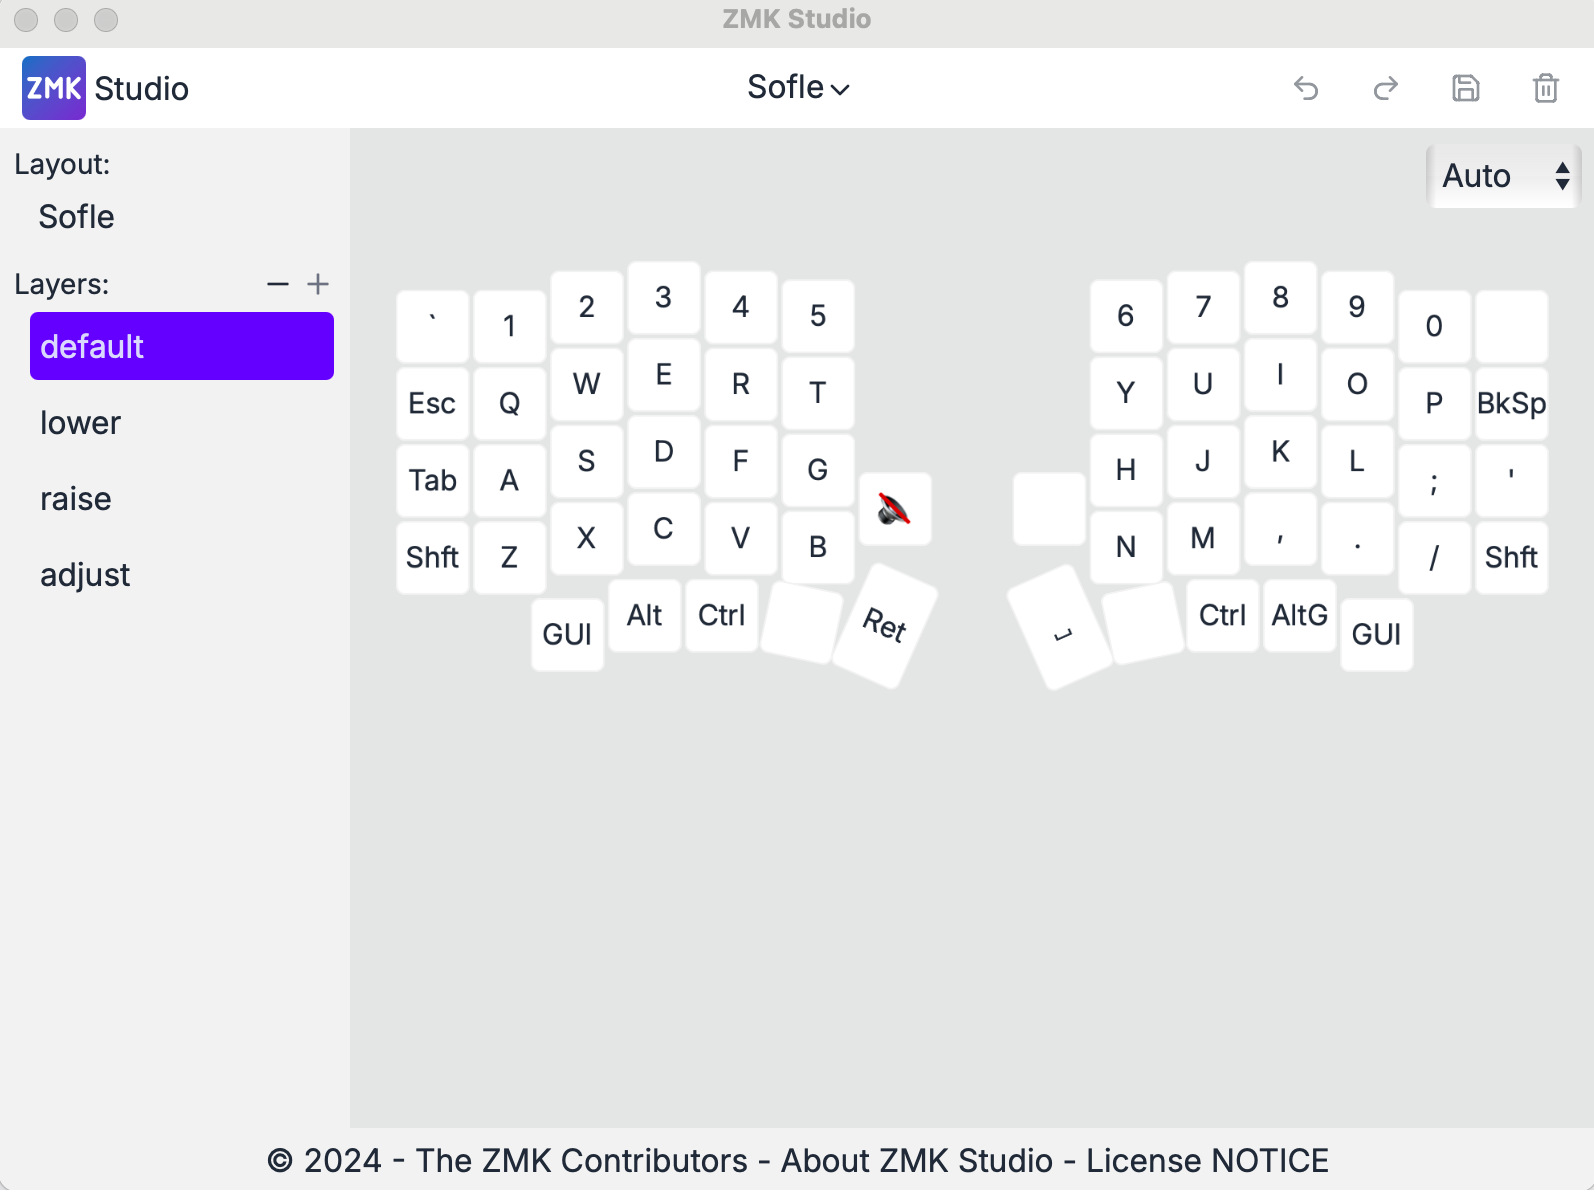
ZMK Studio showing key layout, which can be customized to an insane degree
Configuration and Customization
This when I then realized how far over my head I am when I see just how many options are available. Every key can be an infinite list of options and modifiers. I have decided against using an alternative keyboard layout, after practicing on KeyBR, I think it would take me too long to change my muscle memory.
I am looking forward to getting faster at using the alternative layers: instead of having a special key for every single common symbol, requiring finger gymnastics to find and press, I can instead just hold the lower key, and they are right below my fingertips. There is a whole science to the position of each character, so I don't want to make any rash changes before I fully understand the usage patterns.
It's been a great journey so far into this rabbit hole of DIY mechanical keyboards, and amazing that I am now daily driving a design the author describes as: We are just a few guys who made a keyboard for their personal use. What better product can exist than the one you make for, and use yourself?
Thanks to Josef Adamčík, MechBoards and the contributors of ZMK.